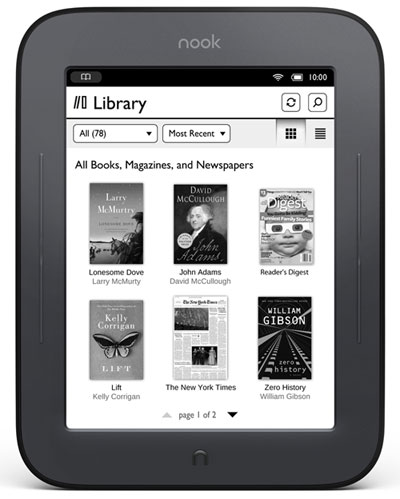
Not even the black and white E-ink display of Nook Simple Touch stopped developers from modifying its Android software. In fact, every Nook has its fair share of custom ROMs and applications – including Nook Color and Tablet. Despite full-throttle tweaking, hardware limitations prevented Nook Touch from performing simple Android tasks like playing videos and running Android apps and games. Multitouch can be excluded from this list now that an XDA member hacked it to enable the feature. And with a few simple steps, you can get multitouch on your Nook Touch too.
XDA member mali100 posted a flashable .zip file on the developer’s forum to enable multitouch on Nook Simple Touch. Once enabled, pinch to zoom actions are now possible on compatible apps like PDF viewers and games. The update file can be flashed on your $99 eBook reader using ClockworkMod Recovery. Nook Touch owners with rooted devices and CWM Recovery can easily do so. It is a non-wipe update file which means user data will not be erased. You know the drill. If you have ClockworkMod Recovery installed just do the following:
1. Download the multitouch.zip file
2. Transfer the downloaded file to your Nook Touch
3. Press the power off button until the device boots.
4. Once the “read forever” screen shows, press and hold the lower left and lower right button until the screen changes again. This will take you to Recovery Mode.
5. Now that you’re in Clockworkmod Recovery, select install zip from sdcard > choose zip from sdcard and look for the transferred multitouch.zip from step 1. Confirm installation.
6. After a successful installation, click “reboot system now” and your Nook Touch will restart with an additional multitouch feature.
Otherwise, unfamiliarity to CWM recovery means you have to go through a process that will prepare your device for enabling multitouch. You need to root it first and install CWM Recovery. We prepared separate guides below for those of you who are up to the task. We do not take responsibility for bricking or data loss. You should carefully follow each step and perform backups before you do anything.
How to root Nook Simple Touch
1. Prerequisites: Registered device, Google Account, WinImage software if you have a Windows PC, dd software if you have Linux, an external micoSD card reader
2. Download the latest TouchNooter .zip file
3. Windows PC: Unzip the file using WinImage and “Restore Virtual Hard Disk Image” to your SD card. Linux: Unzip and use dd if=touchnooter-xx-xx-xx.img of =/dev/sdcard. Remember to replace “xx-xx-xx” with the version number of the downloaded file from step 2 (Example: touchnooter-2-1-31.zip means you have to type touchnooter-2-1-31.img on dd)
4. Power off your device and insert the SD card from step 3.
5. Now, power your Nook Touch back on and it will immediately go to the TouchNooter boot screen. Just follow through with the instructions and your device will boot afterwards.
6. Unlock your screen and skip “Sign In” at the Android welcome screen.
7. Enable Location Services, connect to WiFi, and launch YouTube using the App Drawer of your choice.
8. Click the Menu button and select “My Channel.” Log in using your Google Account.
9. Next, launch Gmail and log in using the same account.
10. Sync your Gmail and exit the app. It could fail at first but that is fine.
11. If you can’t use Market right away, give it some time – at least a day. Check back until you are allowed to accept Terms and Service. Going this far is a sign that you have successfully rooted your Nook Touch. Download an app from the Android Market (now Google Play) to make sure.
12. If YouTube fails to launch, uninstall the app and reinstall from /data/app. You need to enable non-market installation for this.
13. When everything is set, go to Settings > Device Info > SDCard > Unmount > Format.
How to install CWM Recovery on Nook Touch
1. Download sd_2gb_clockwork-rc2.zip (for 2GB SD card) or sd_128mb_clockwork-rc2.zip (for 128MB SD card) from this thread.
2. Write the file on your SD card using WinImage for Windows and dd for Linux.
3. Power off your device an insert the SD card.
4. Turn it back on and reboot.


